Boom strut - 44010 (BK500)- Fitting Instructions
Boat size listings are designed to help you choose the right size of Boomstrut for your craft. But this is a guide only as boom length, boom and sail weight may vary. We recommend, after reading the instructions fully, that if the rods require cutting you should install the complete system. This would mean the boom position would not be correct but will allow you to measure the downward force required (with sail flaked) on the aft end of the boom to flex the rods. The correct downward force would be approx 5kg. If larger/smaller force is required we recommend contacting your dealer so the rods can be exchanged for the correct size diameter to suit your craft. Rods which have been shortened will not be exchanged. |
|||||||
| THANK YOU FOR CHOOSING THE BARTON BOOMSTRUT. INSTALLATION IS A FAIRLY STRAIGHT FORWARD OPERATION AND CAN BE ACHIEVED IN A RELATIVELY SHORT TIME FOLLOWING THESE FITTING PROCEDURES: | |||||||

|
|||||||
RECOMMENDED INSTALLATION TOOLS: SET UP BOOM
HEIGHT: |
|||||||
|
|||||||
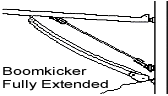
POSITION BOOMSTRUT: With the boom height set as above and the mast and boom fittings attached to the Boomstrut, position it alongside the vang triangle to see how it fits. Position is not critical so long as it does not interfere with the vang (kicking strap). It is recommended that both the vang and Boomstrut make an angle of between 30 and 40 degrees with the boom. INSTALL MAST
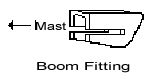
FITTING: SHORTEN RODS
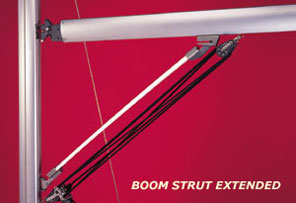
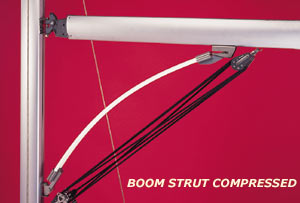
IF NECESSARY: Refit the rods into the clamps ensuring that they are up against the embossed stops to prevent slipping. Ensure that the unit is parallel and not twisted relative to each end, then tighten clamps with the Allen Key. IMPORTANT: Do not shorten the total lengths of the rods by more than 150mm. INSTALL BOOM
: FINAL CHECKS: |
|||||||
|
|
||||||
| Should you have any questions with regard to installation of your Boomstrut please contact your Chandler in the first instance. | |||||||