

Winches - Fitting the Barton Wincher
Tools required: kettle, container, washing up liquid, table spoon or large screw driver
Step 1: Boil a kettle of water and fill the container with enough water to cover one Wincher. Let it cool a little, add some washing up liquid and immerse one wincher for a minimum of 5 minutes. It is not unusual for the Wincher to change colour from dark grey to light grey as it heats up.
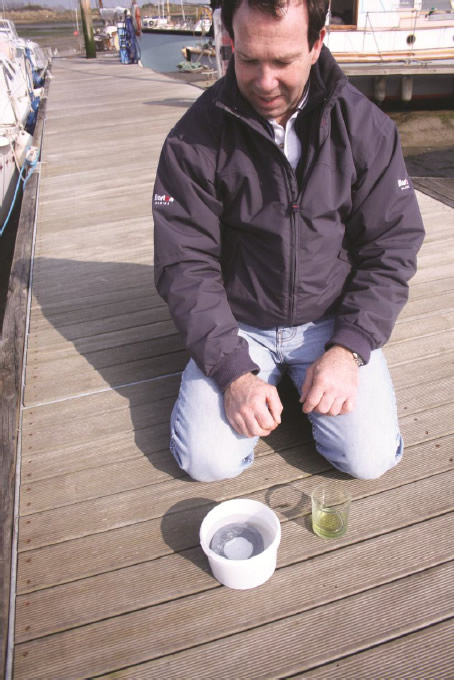
Step 1: Immersion
Step 2: Wincher installation is best carried out in situ. Take your warmed Wincher from the container, squirt some washing up liquid around the winch drum lip and immediately pull the Wincher onto the winch using both hands and some force, be sure to have the ribbed part facing downwards. Pull so that the Wincher pops onto the winch drum completely
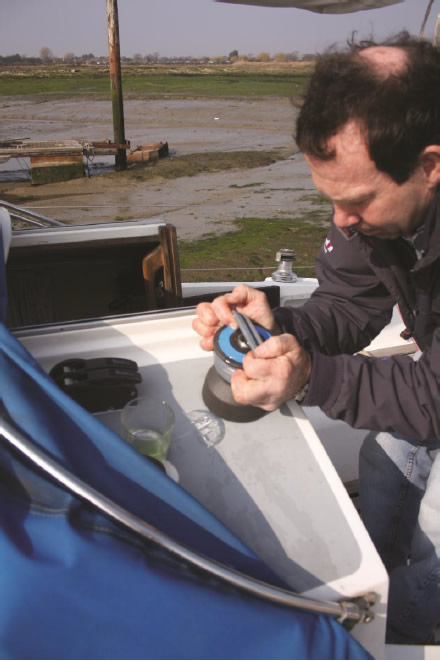
Step 2: Fitting Wincher onto drum
Step 3: Tease the top lip of the Wincher onto the top lip of the winch drum. Use a combination of your hands and a blunt tool such as a tablespoon handle or careful use of a large screwdriver. Be careful not to tear the Wincher top lip.
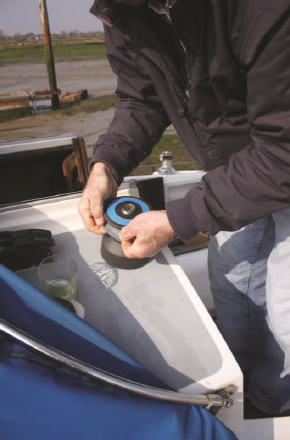 |
 |
Step 3: Fitting Wincher lip to drum top lip
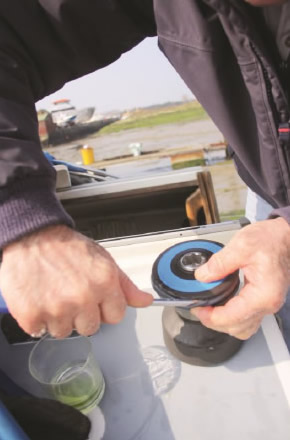
 |
 |
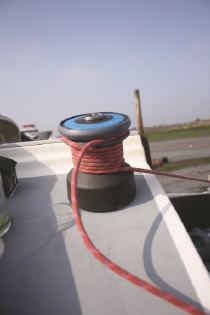 |
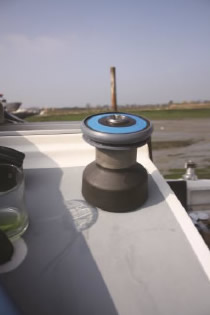
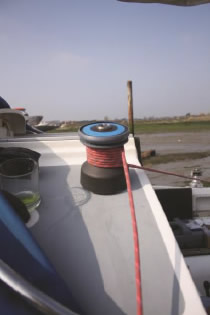
Step 4: Fitted unit ready to use